Published: October 2017
“One who possesses a thousand coconut trees is akin to a king,” goes an old saying. If there is sufficient water and good soil conditions, coconut farming can provide a steady income. All products derived from coconut have monetary value. Selecting good-yielding seedlings and ensuring high productivity in coconut farming are paramount. This article explains how to produce quality coconut seedlings.
The most fundamental aspect of coconut seedling technology is the selection of seed nuts. As coconut is a long-term crop, great care must be taken in selecting seeds. It takes 7-10 years for coconut trees to bear consistent fruit.
Thus, if quality seedlings are not planted, one might regret it after ten years. The time and money spent on those coconut trees until then would be wasted. Therefore, from selecting the mother tree to the final stages of cultivation, proper agricultural techniques must be followed.
Characteristics of the Mother Tree
Selecting the right mother tree can increase fruiting capacity by 50%. The mother tree should be straight with closely spaced leaf scars. It should have 30-40 broad leaves. If the leaves are too long, they won’t support the bunches. Therefore, leaf length should not exceed 6 meters.
Seed nuts should be collected from trees aged between 25 and 60 years with these characteristics. Only nuts that have grown for 11-12 months should be selected. In rainfed coconut groves, seeds can be selected during March, April, and May, while in irrigated groves, seeds can be selected in all seasons.
Characteristics of Seed Nuts
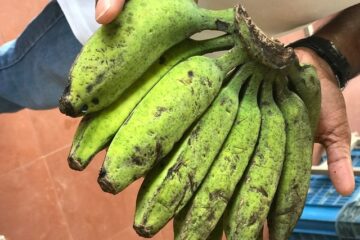
Quality seed nuts will float vertically in water. After removing the husk, they should weigh 650-750 grams. Seeds should be taken from trees not affected by wilt disease or eriophyid mite. Mature nuts from mother trees should be dried in the sun for 15 days, which changes the husk’s color and reduces its weight. They should then be shade-dried for 15 days before planting for uniform germination.
Nursery Location
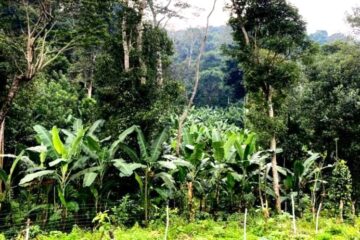
The nursery should be located on flat, sandy soil to avoid damaging the seedlings during uprooting. It should be an open area without water stagnation and minimal termite infestation. The nursery can be set up in a coconut grove or under a 50% shade net, avoiding areas with excessive shade.
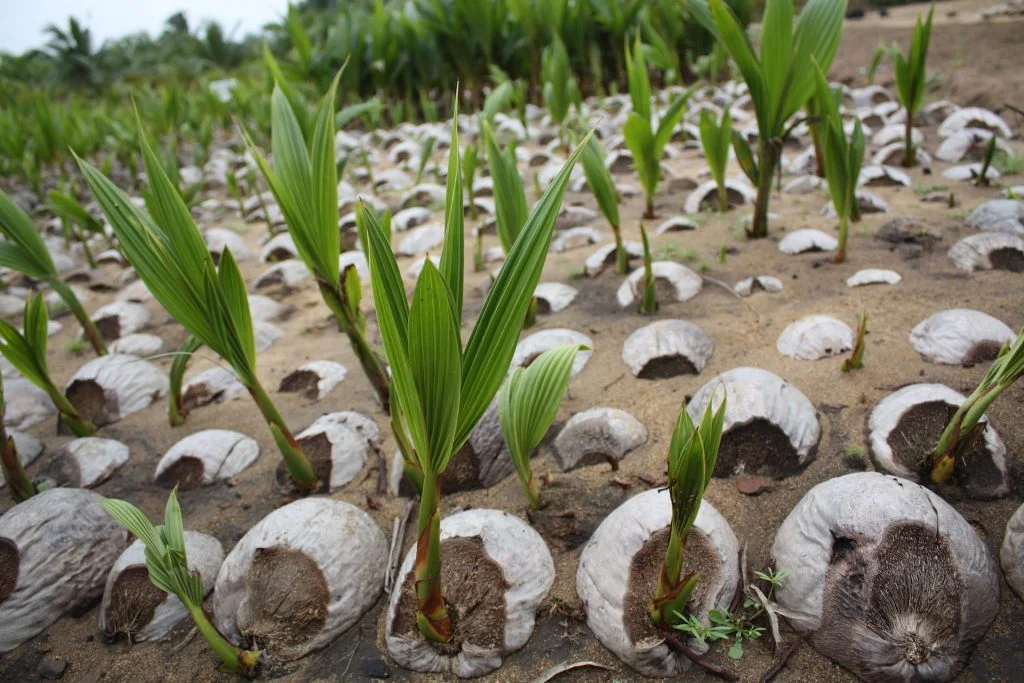
Setting Up the Nursery
Pits of 50-100 feet length should be dug according to the layout and soil conditions. There should be a 1.5 feet wide channel between two pits. In each pit, five rows of seed nuts should be planted. Some plant the nuts vertically, some horizontally, and some at an angle.
Even though angled or horizontally planted nuts show larger shoots initially, there is no difference in the vigor of the seedlings once they grow to one year. Vertical planting is preferred for ease of transportation.
Sandy nurseries require watering every other day, while other nurseries need watering twice a week. Without proper drainage, water stagnation can affect nut germination and seedling growth.
Producing Seedlings in Poly Bags
Seedlings can also be produced in poly bags. For this, 500-gauge thickness, 60×40 cm black poly bags can be used. These bags should be filled with a mixture of soil, sand, and compost in equal parts before planting the nuts. Seedlings can also be produced using only coconut coir pith.
To produce seedlings in poly bags, first set up a primary nursery bed in the field and plant the seed nuts closely. Once they germinate, transplant the sprouts into poly bags. Place the germinated nuts vertically in the poly bags, pressing the soil firmly around the nut.
Seedling Care
Seed nuts that do not germinate within six months should be removed. After germination, if there is an infestation of weevils or mites, apply dimethoate insecticide at a rate of 5 ml per liter of water. If ants or termites are present, dust the nursery with chlorpyrifos 5%.
Selecting and Planting Seedlings
Following the proverb “The fruit-bearing crop is evident from the sprout,” quality coconut seedlings should exhibit good growth even at the sprout stage. A 10-12 month-old seedling should have 6-8 leaves, while a 9-month-old seedling should have at least 4 leaves.
The stem diameter of the planted seedling should be 10-12 cm. It should have the characteristic of quick leaf expansion. Seedlings with slow growth and bent, thin stems should not be planted.
To remove seedlings from the nursery, loosen the soil with a spade or crowbar and gently extract the seedlings. Do not pull the seedlings by the husk. Seedlings should be planted within ten days for wetland seedlings and within two days for dryland seedlings.
Soil for Coconut Planting
Select fertile soil for planting coconuts. Although coconut trees can grow well in red soil, loam, sandy loam, and coastal sand, red soil and loam are best for coconut cultivation. The soil depth should be 3-5 feet.
The soil should have water retention capacity and a pH of 5-8. Although initial growth may be good in soil less than one meter deep, growth will eventually decline.
Planting Methods
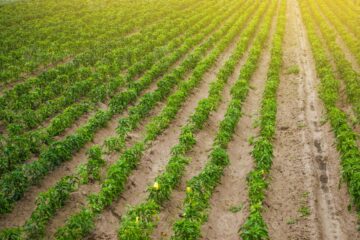
To create a grove, planting can be done in square, rectangular, or triangular patterns. It is essential to dig pits and plant at the right spacing. Close planting reduces light availability, causing trees to grow taller and thinner as they compete for sunlight.
In the square method, 70 seedlings can be planted per acre with 7.5 meters spacing. In the rectangular method, 68 seedlings can be planted per acre with 9 meters between rows and 6.5 meters between plants.
In the triangular method, planting is done at 7.5 meters spacing, with the next row of seedlings placed between the two seedlings of the first row. This method allows 82 seedlings per acre.
Pit Digging
For planting coconuts, dig pits of 3 feet depth, length, and width. Fill the pit with topsoil and compost up to 2 feet depth. Plant the seedling in the 2-foot layer such that the nut is buried. Compact the soil around the seedling firmly by foot. If the topsoil is poor, use red or loam soil.
Protecting Seedlings
To ensure the newly planted seedlings do not sway in the wind, they should be anchored with a three-foot-long stick and tied with a rope. To protect the seedlings from sun damage, shade the pit with palm leaves.
When planting during summer, castor seeds can be sown around the seedling to provide shade as they grow. After two months, the castor plants can be cut and used as mulch.
Ensure the pits are not overfilled with soil until the seedlings establish. Planting in pits ensures the broad base of the tree is below ground level, providing stability and protection from strong winds.
In waterlogged areas, seedlings can be planted on raised beds. Each year, the bed should be widened. Drainage channels between rows should be constructed to prevent waterlogging.
Water the newly planted seedlings with a pot or bucket until they establish. Once established, irrigate through channels. Ensure the soil does not cover the seedling base during irrigation to protect them from pests and diseases.
J. Kathiravan, Horticultural Technology Expert, Agricultural Science Center, Valikandapuram, Perambalur – 621 115.